21 Jun Cheesecake by Rice Cooker
Happy Summer! Today I want to share my favorite sweets recipe with you! I love cheesecake and this is honestly so easy. I used to make this recipe with yogurt instead of cream cheese with my mom when I was in Japan a lot. Making cake with a rice cooker reminds me of fun time with my mom and makes me feel warm 😉 Oh I miss her! This time, I switch the yogurt to cream cheese to make cheesecake. This cake is not too sweet like how I am used to and when I make this, I use 1/5 cups of sugar. If you prefer it to be sweeter you can add more sugar! This is very adjustable to your preference and like I mentioned, if you don’t like cheesecake, you can make yogurt cake. The yogurt cake tastes amazing, and if you don’t like sweet stuff, it is great for you. Also, to note, for this cake, I used heavy whipping cream but you can use milk instead as well. Okay. I think I said everything I wanted to say. Without further ado, let’s make a cheesecake!
INGREDIENTS
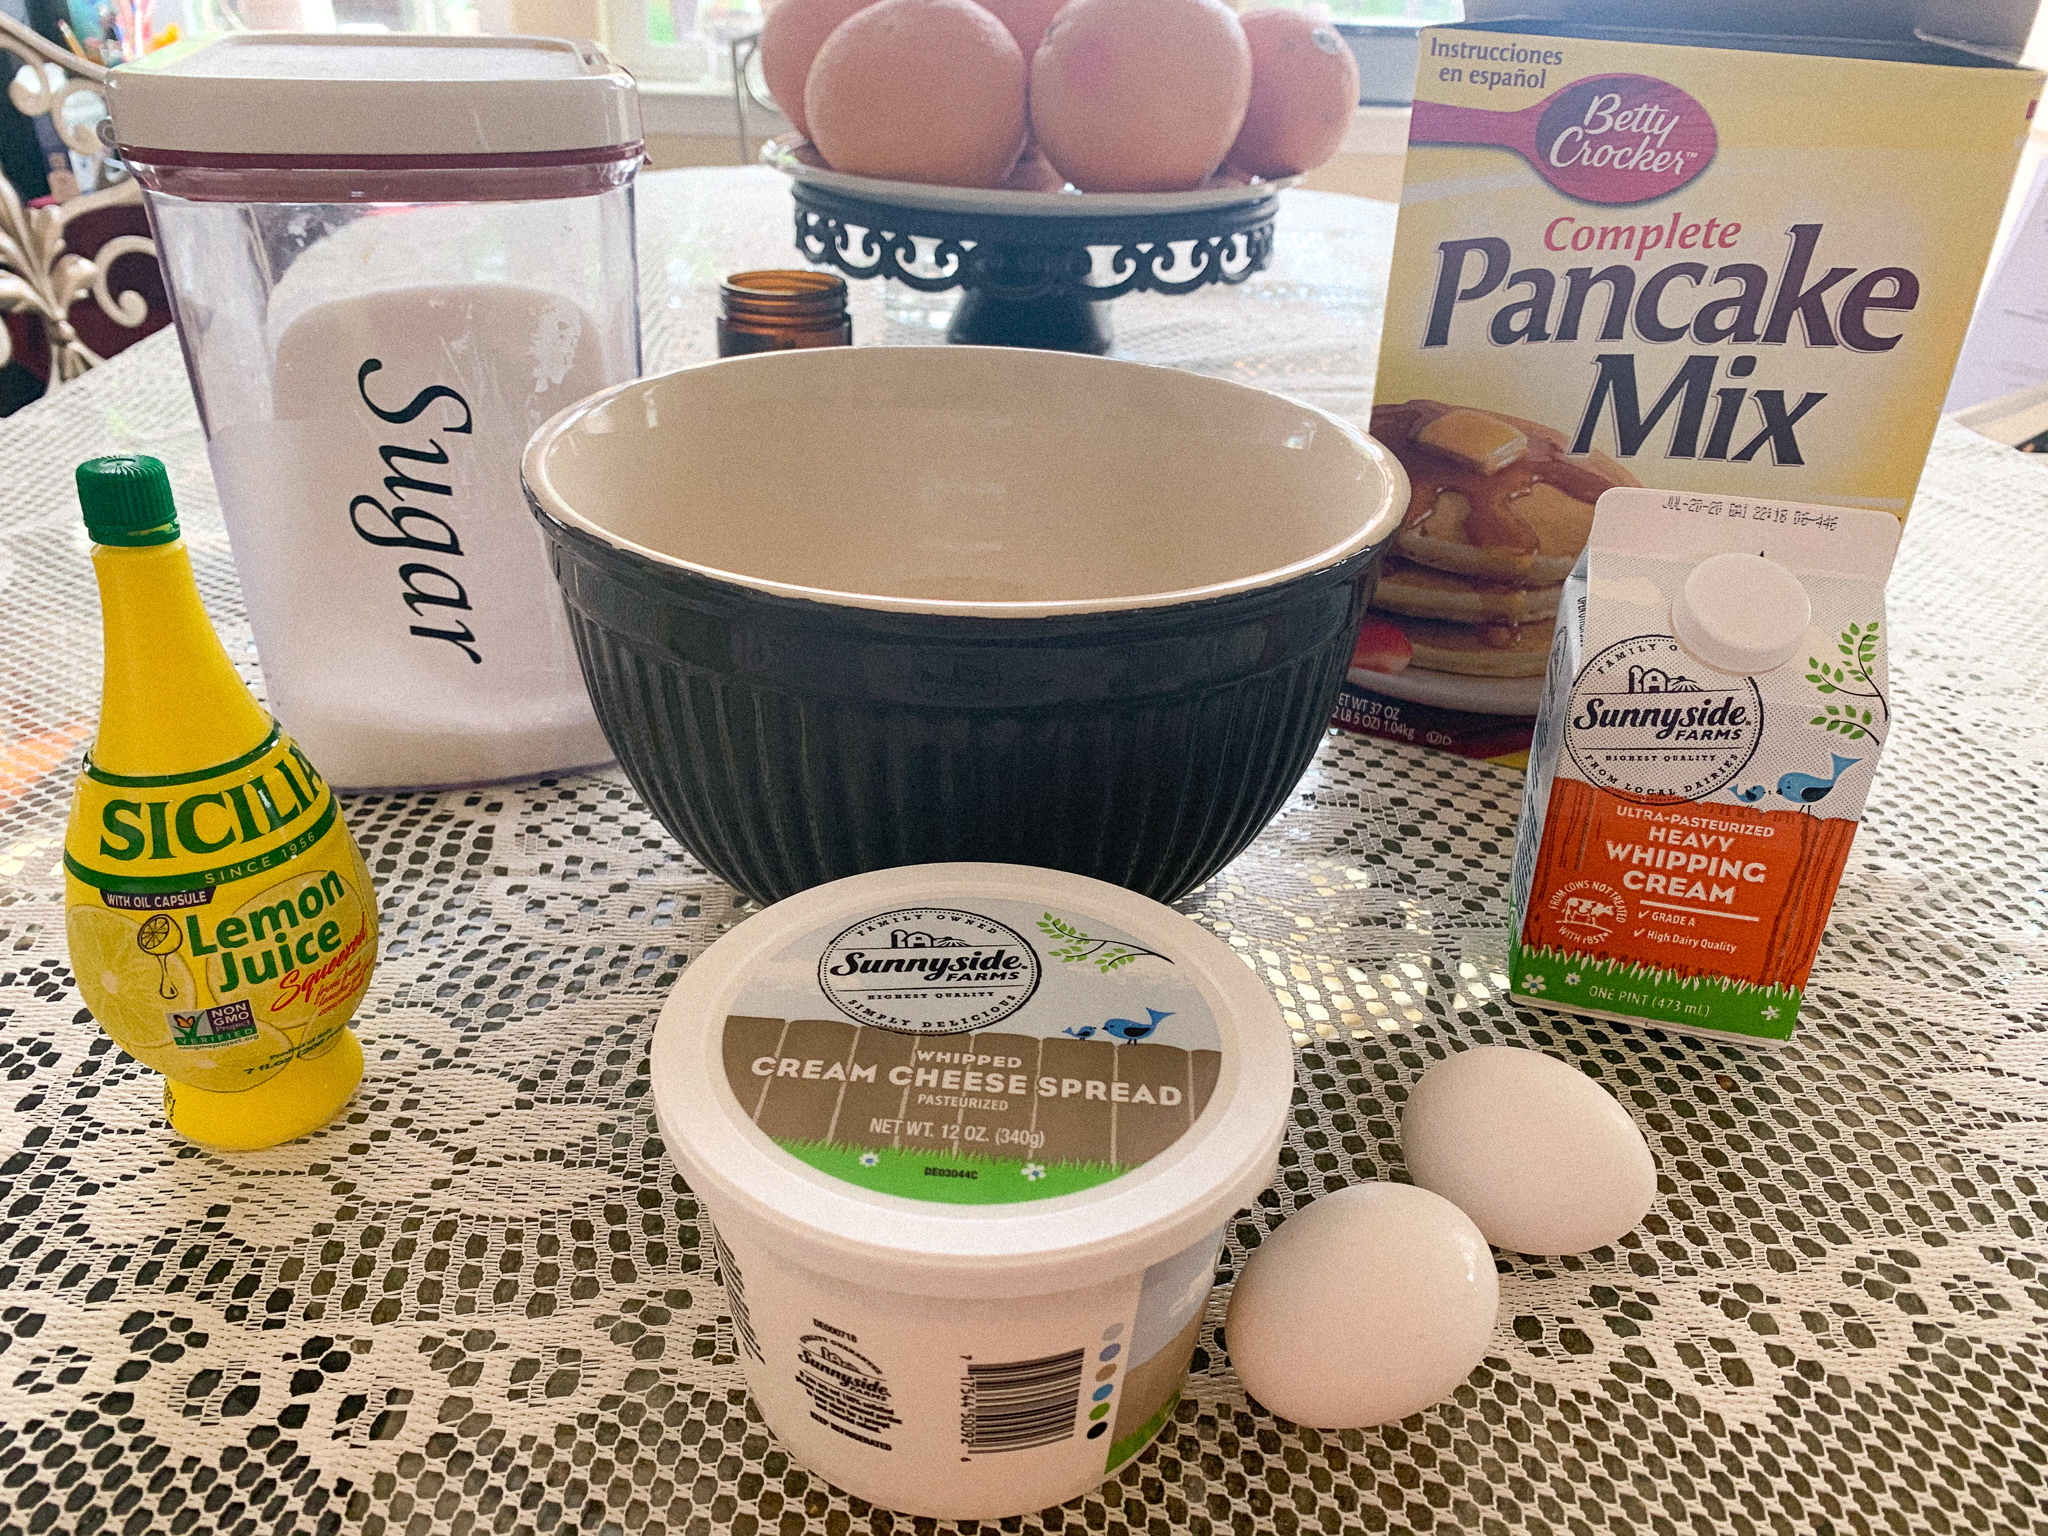
1: Cream cheese (1full container-340ml)
2: Heavy whipping cream or Milk (200ml)
3: Eggs (2)
4: Hotcake mix (1/2 cup)
5: Sugar (1/5 cup to 1/2 cup)
6: Lemon juice (3 table spoon)
STEP BY STEP
1: In the mixing bowl, add all the ingredient above!
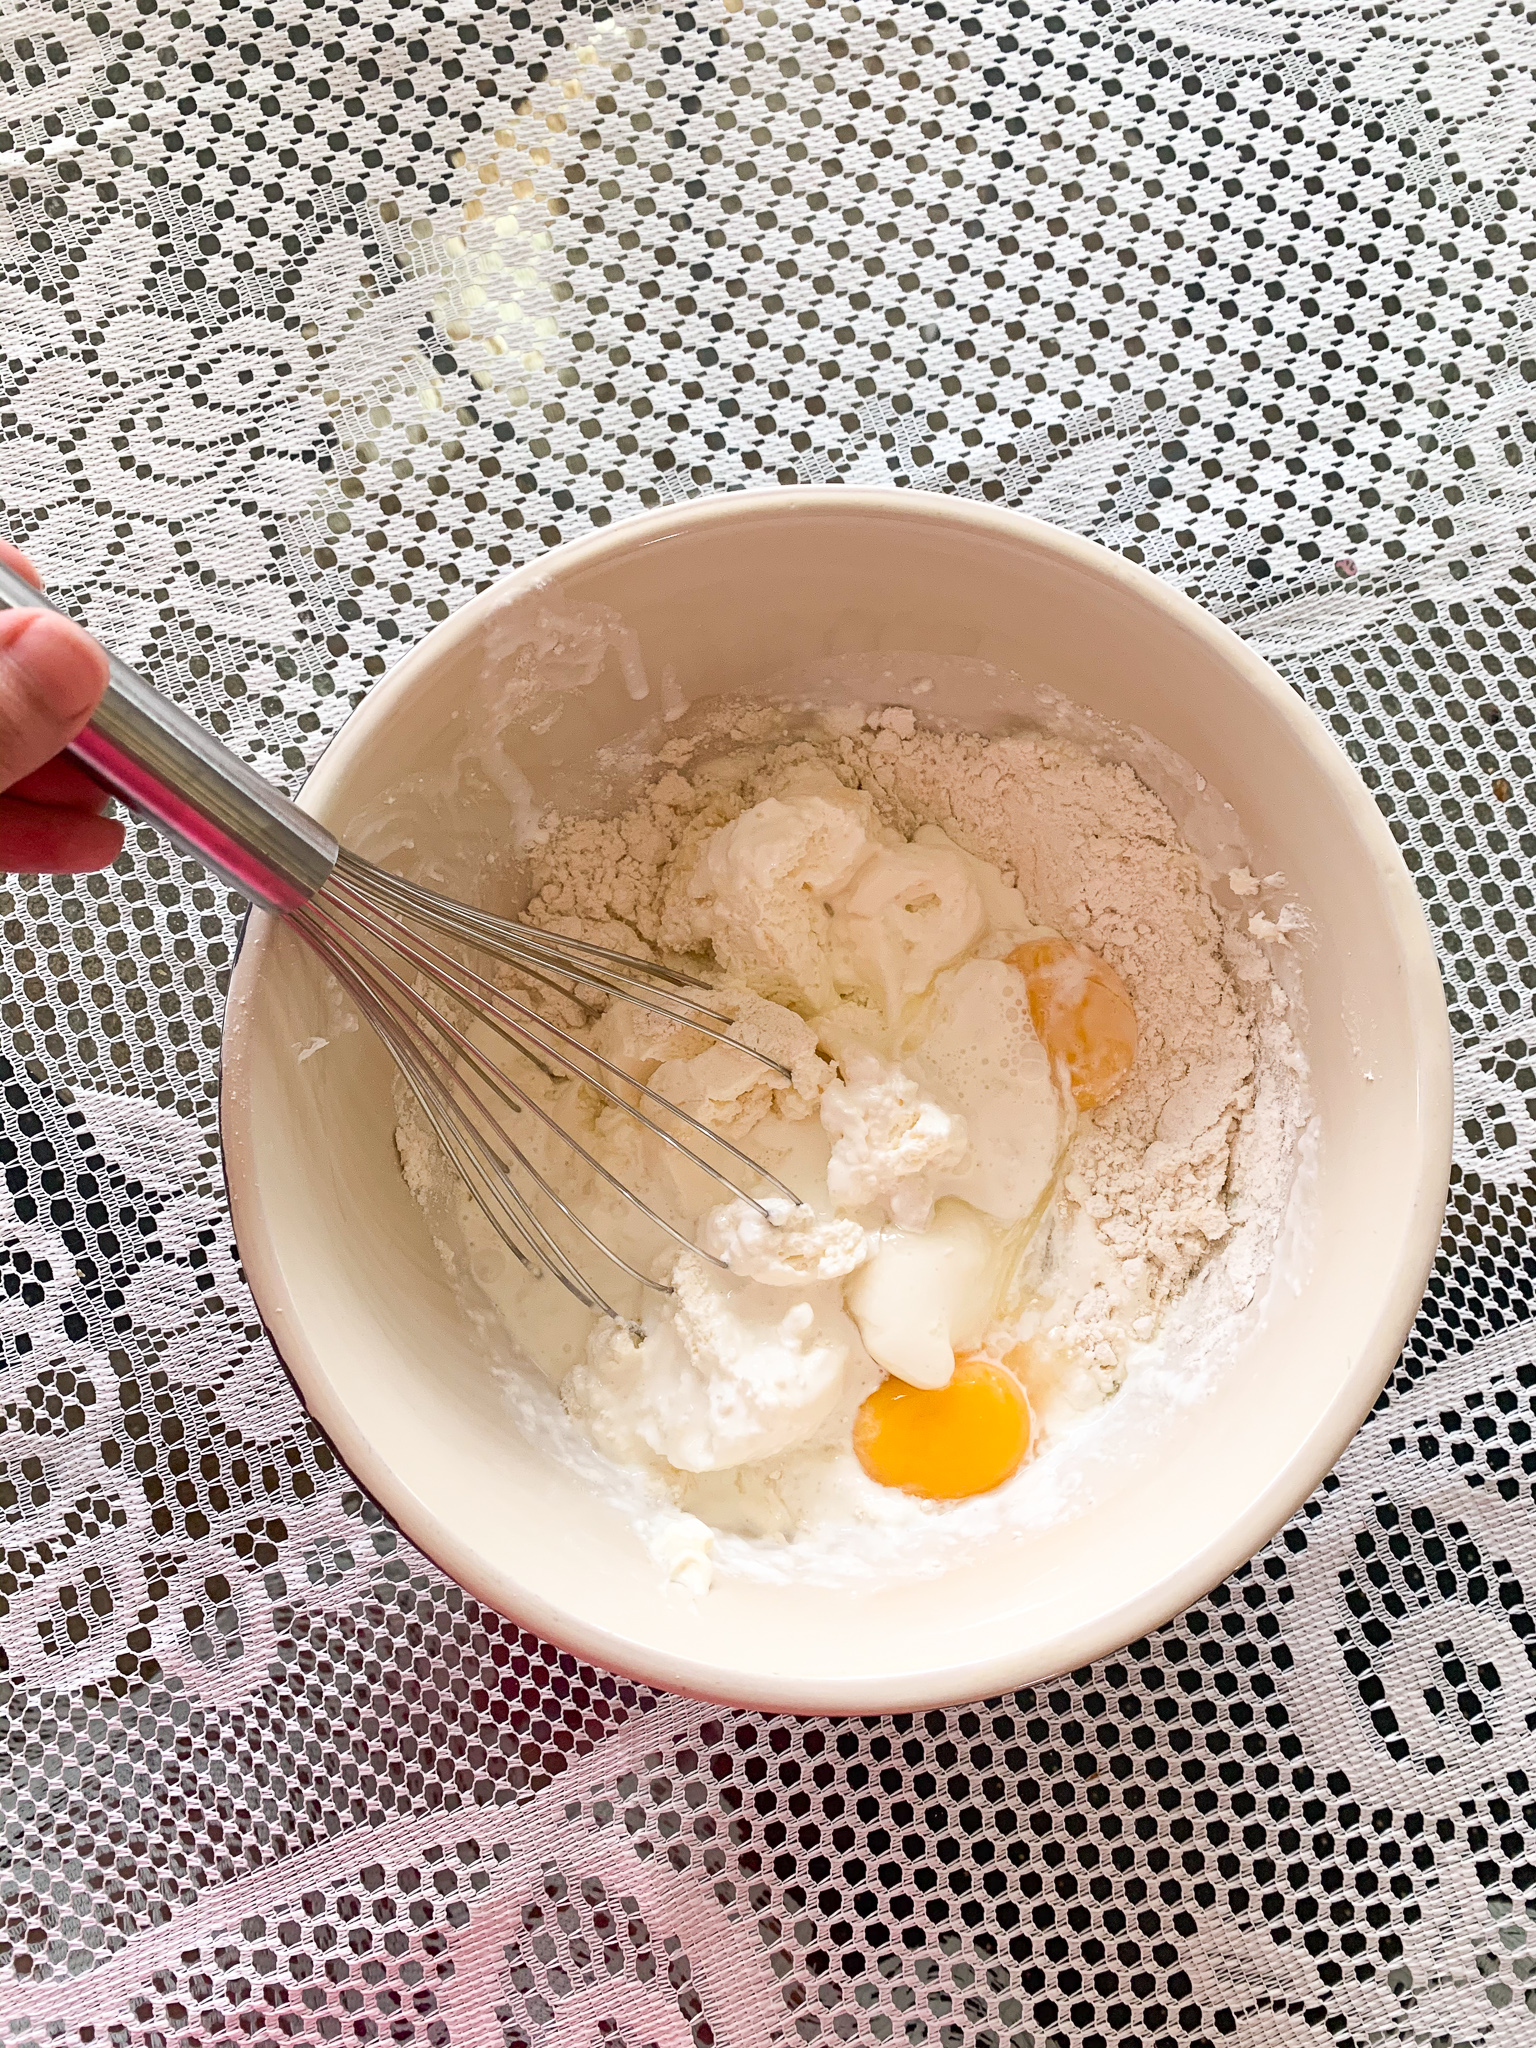
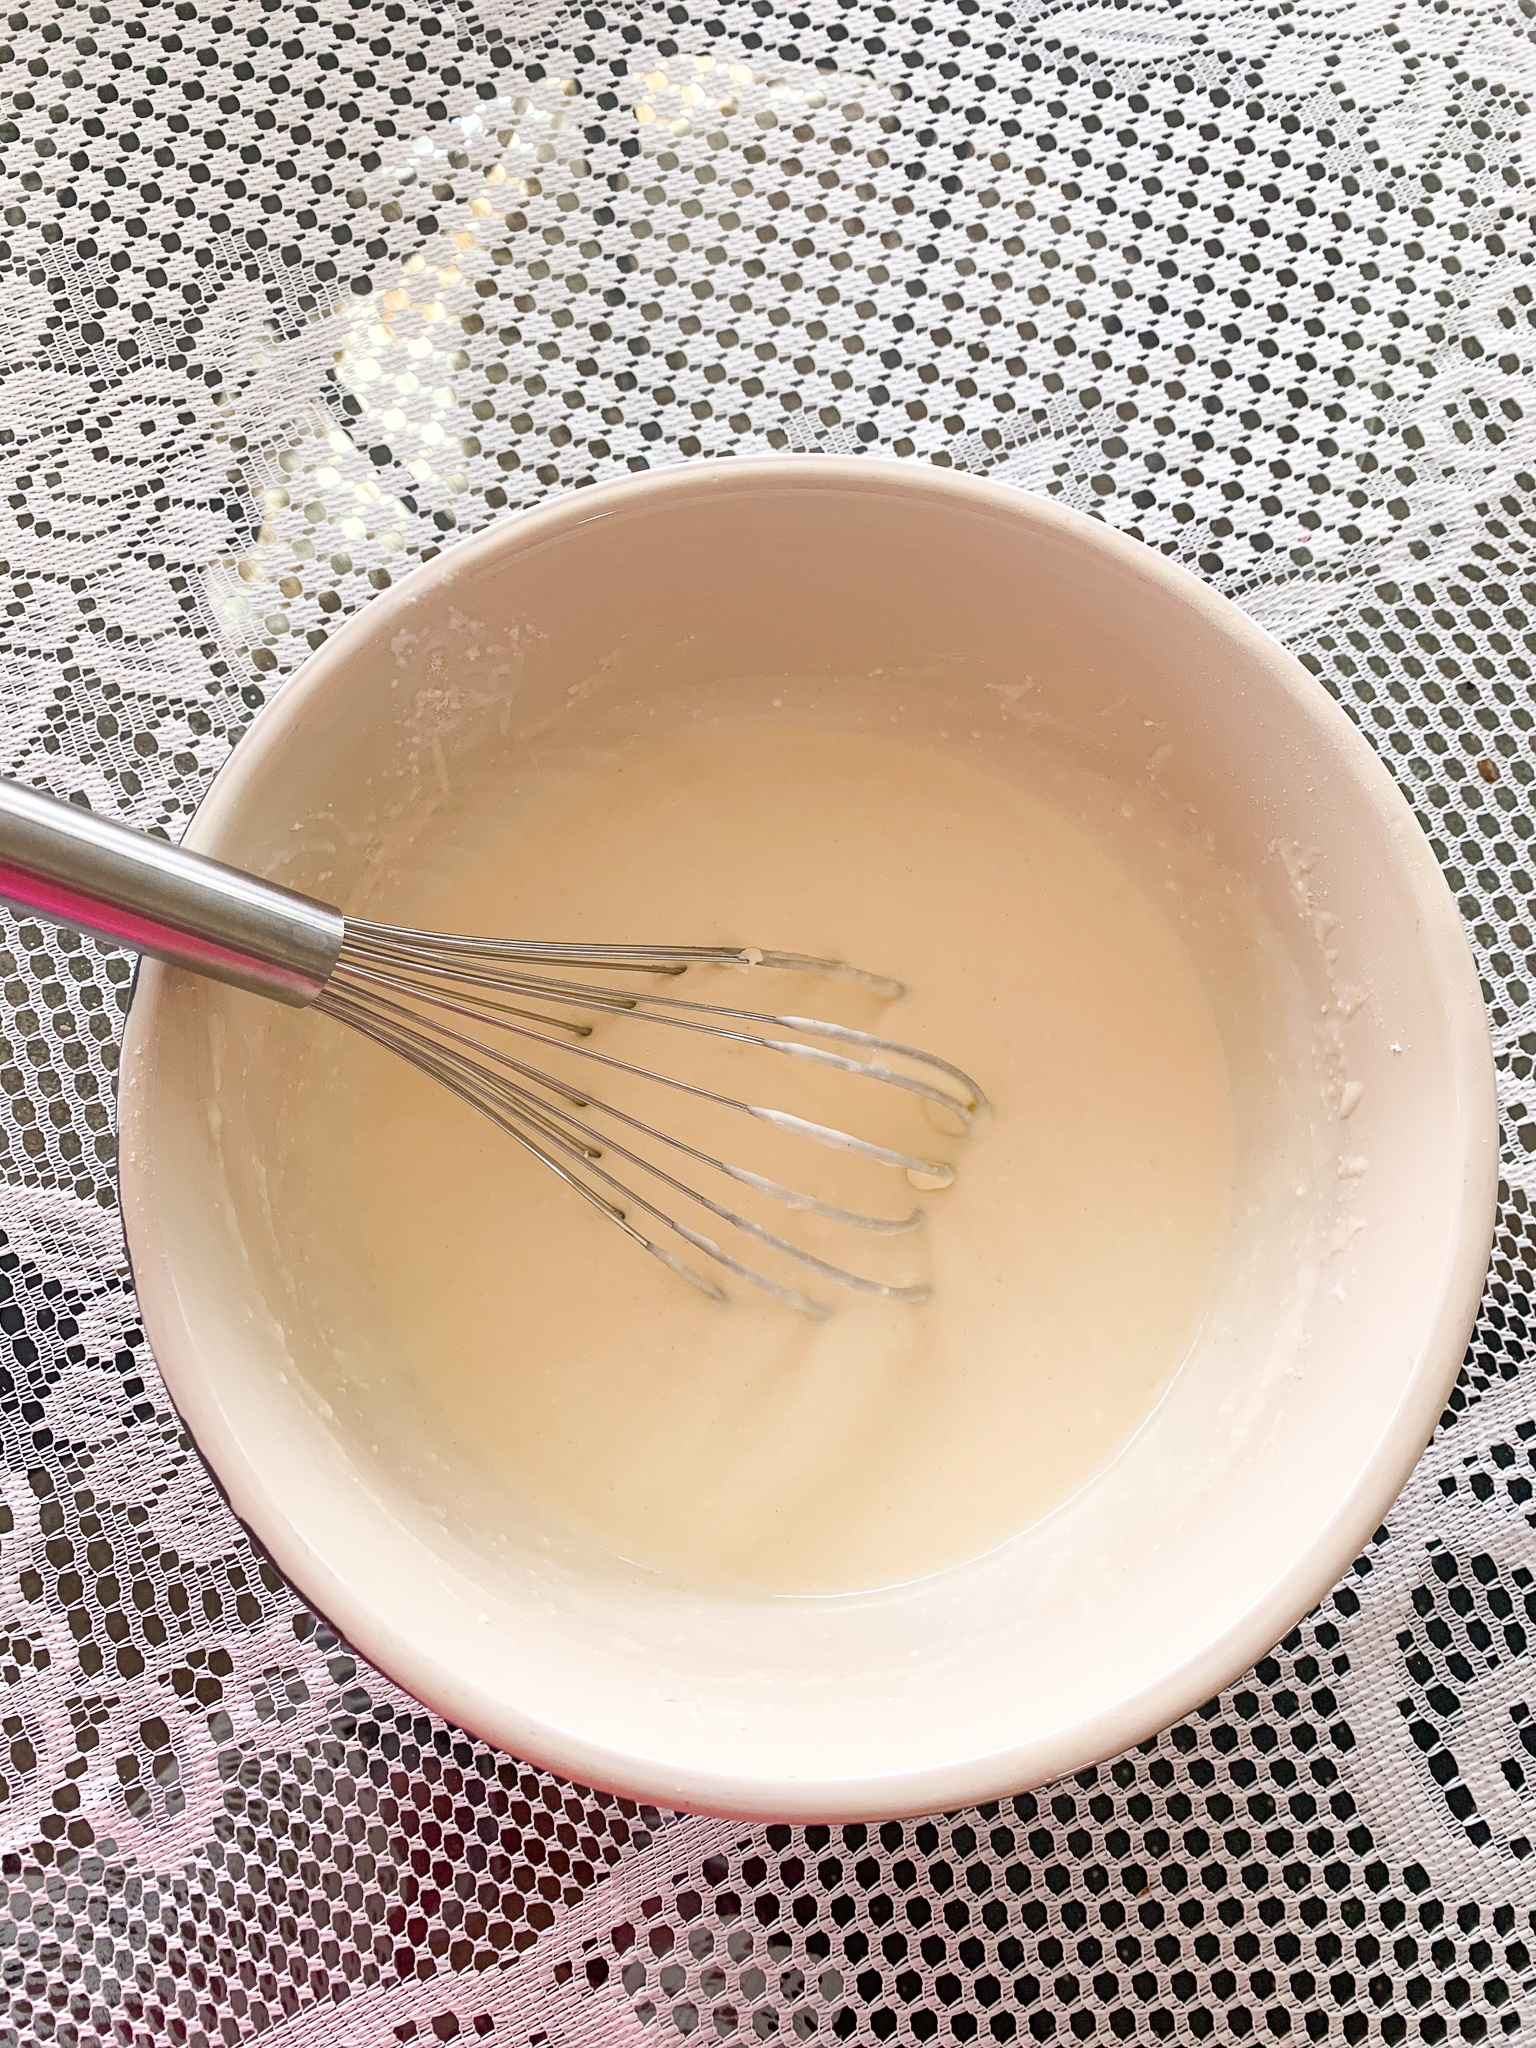
2: Mix all the ingredients with whisks until the lumps are gone. If you want it to be easier and quicker, you can use hand mixer or blender.
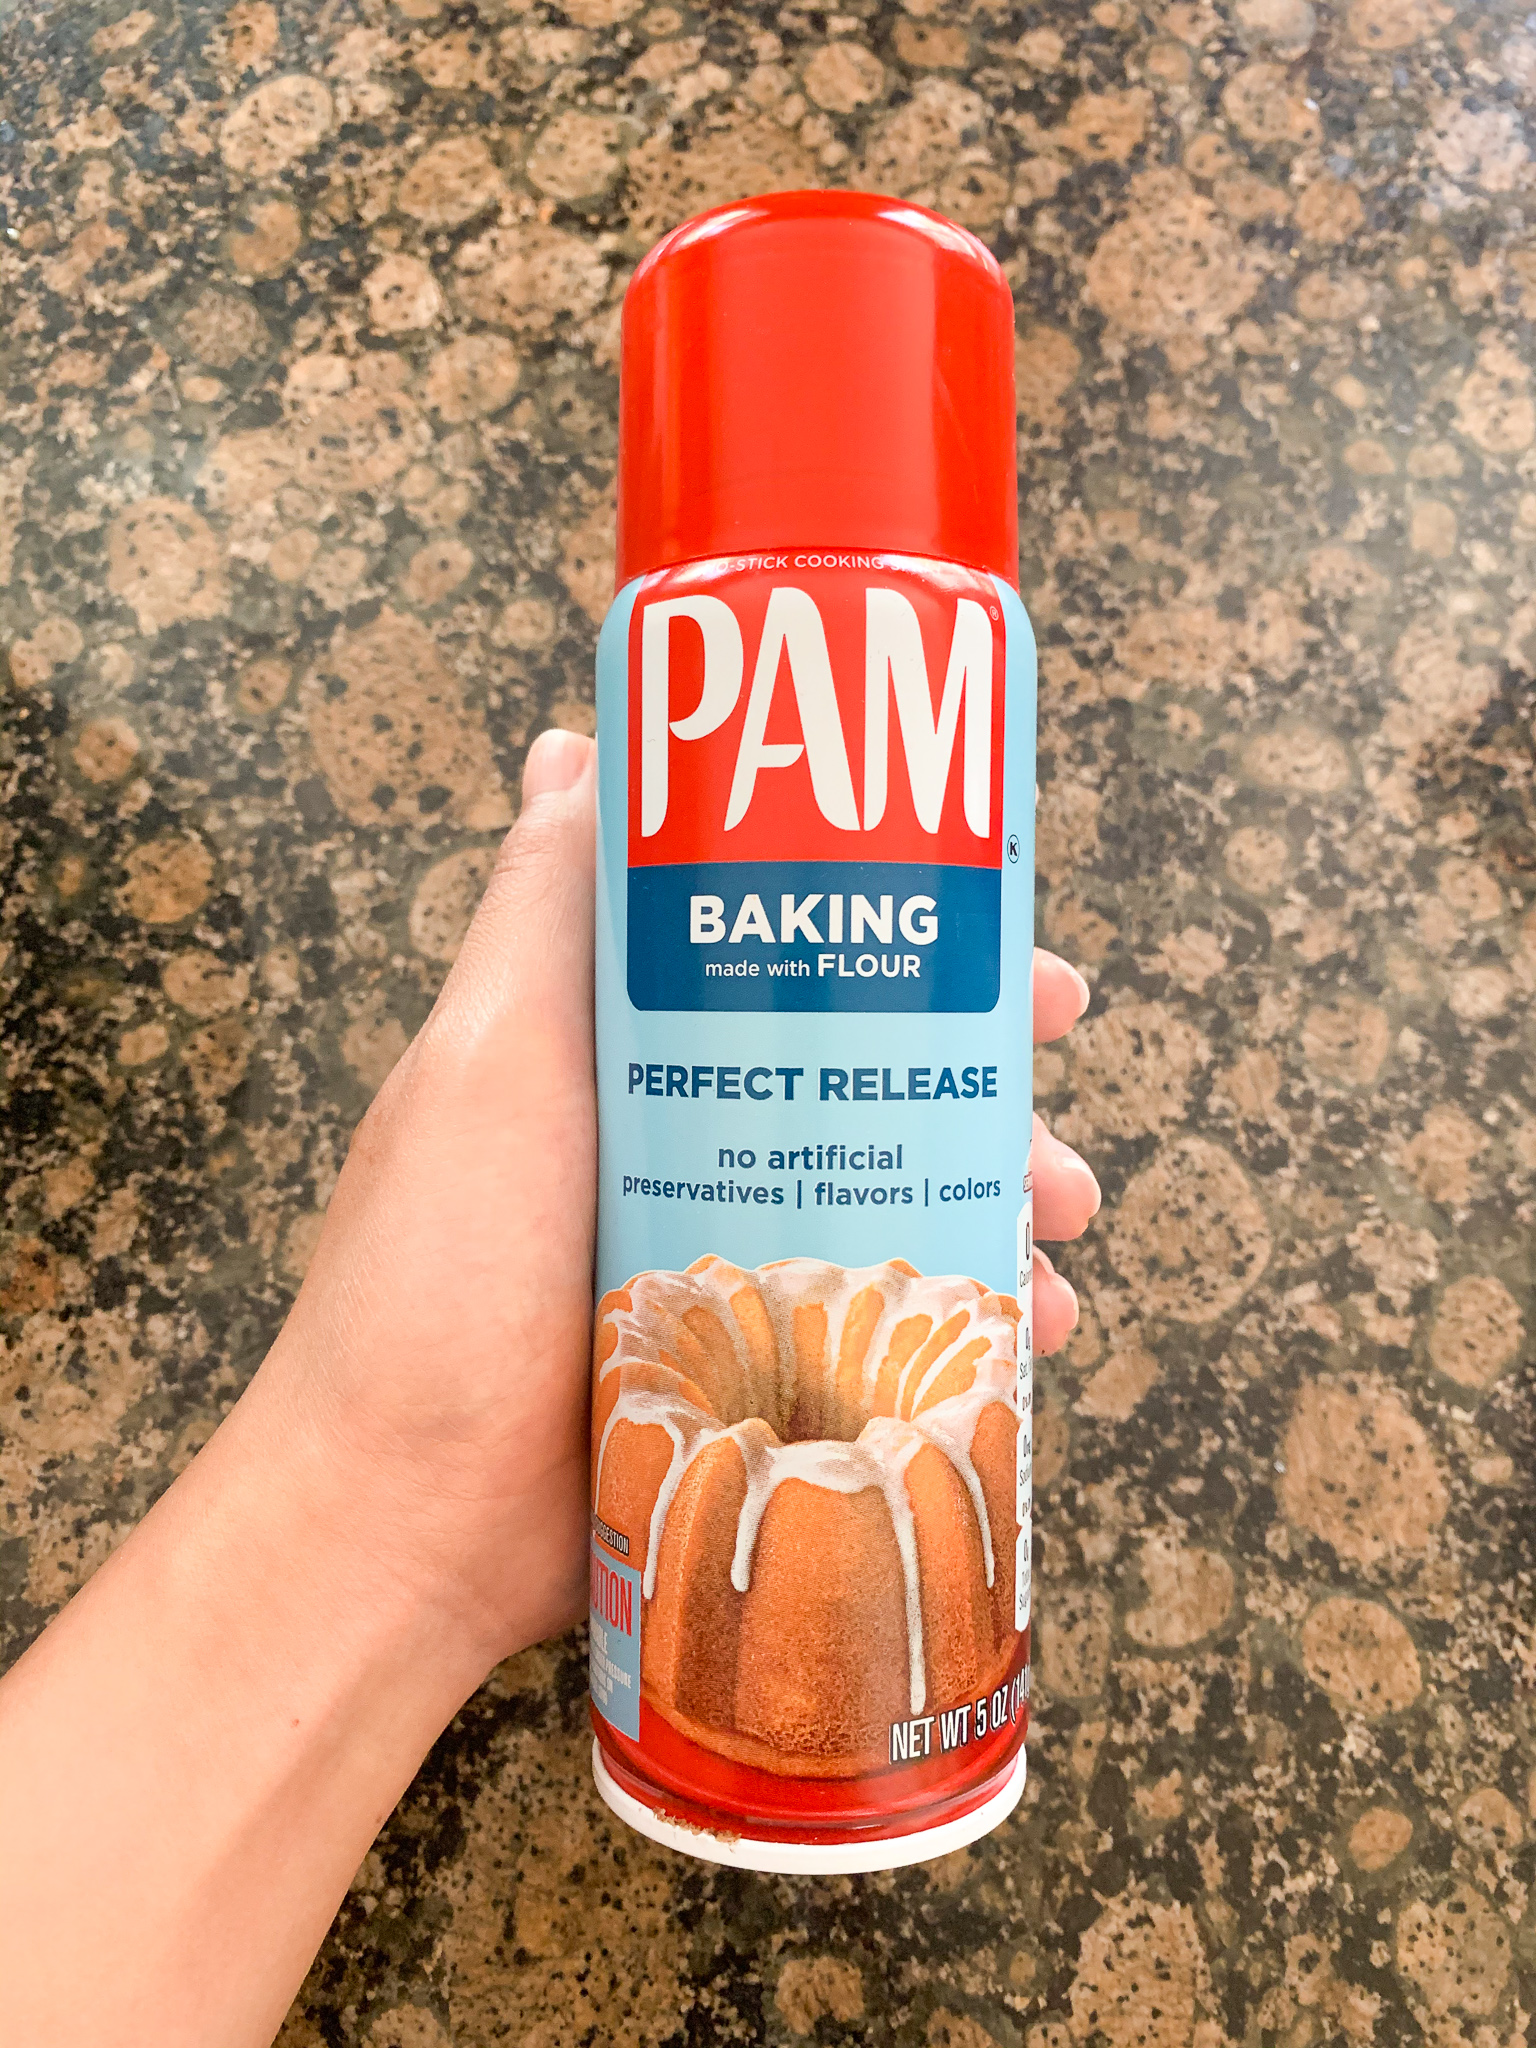
3: (This step I missed with first try) Spray the baking spray to bottom and side of rice cooker pot to avoid cake to stick on.
4: Pour the ingredients into the pot


5: Close the lid of rice cooker and press “start”.
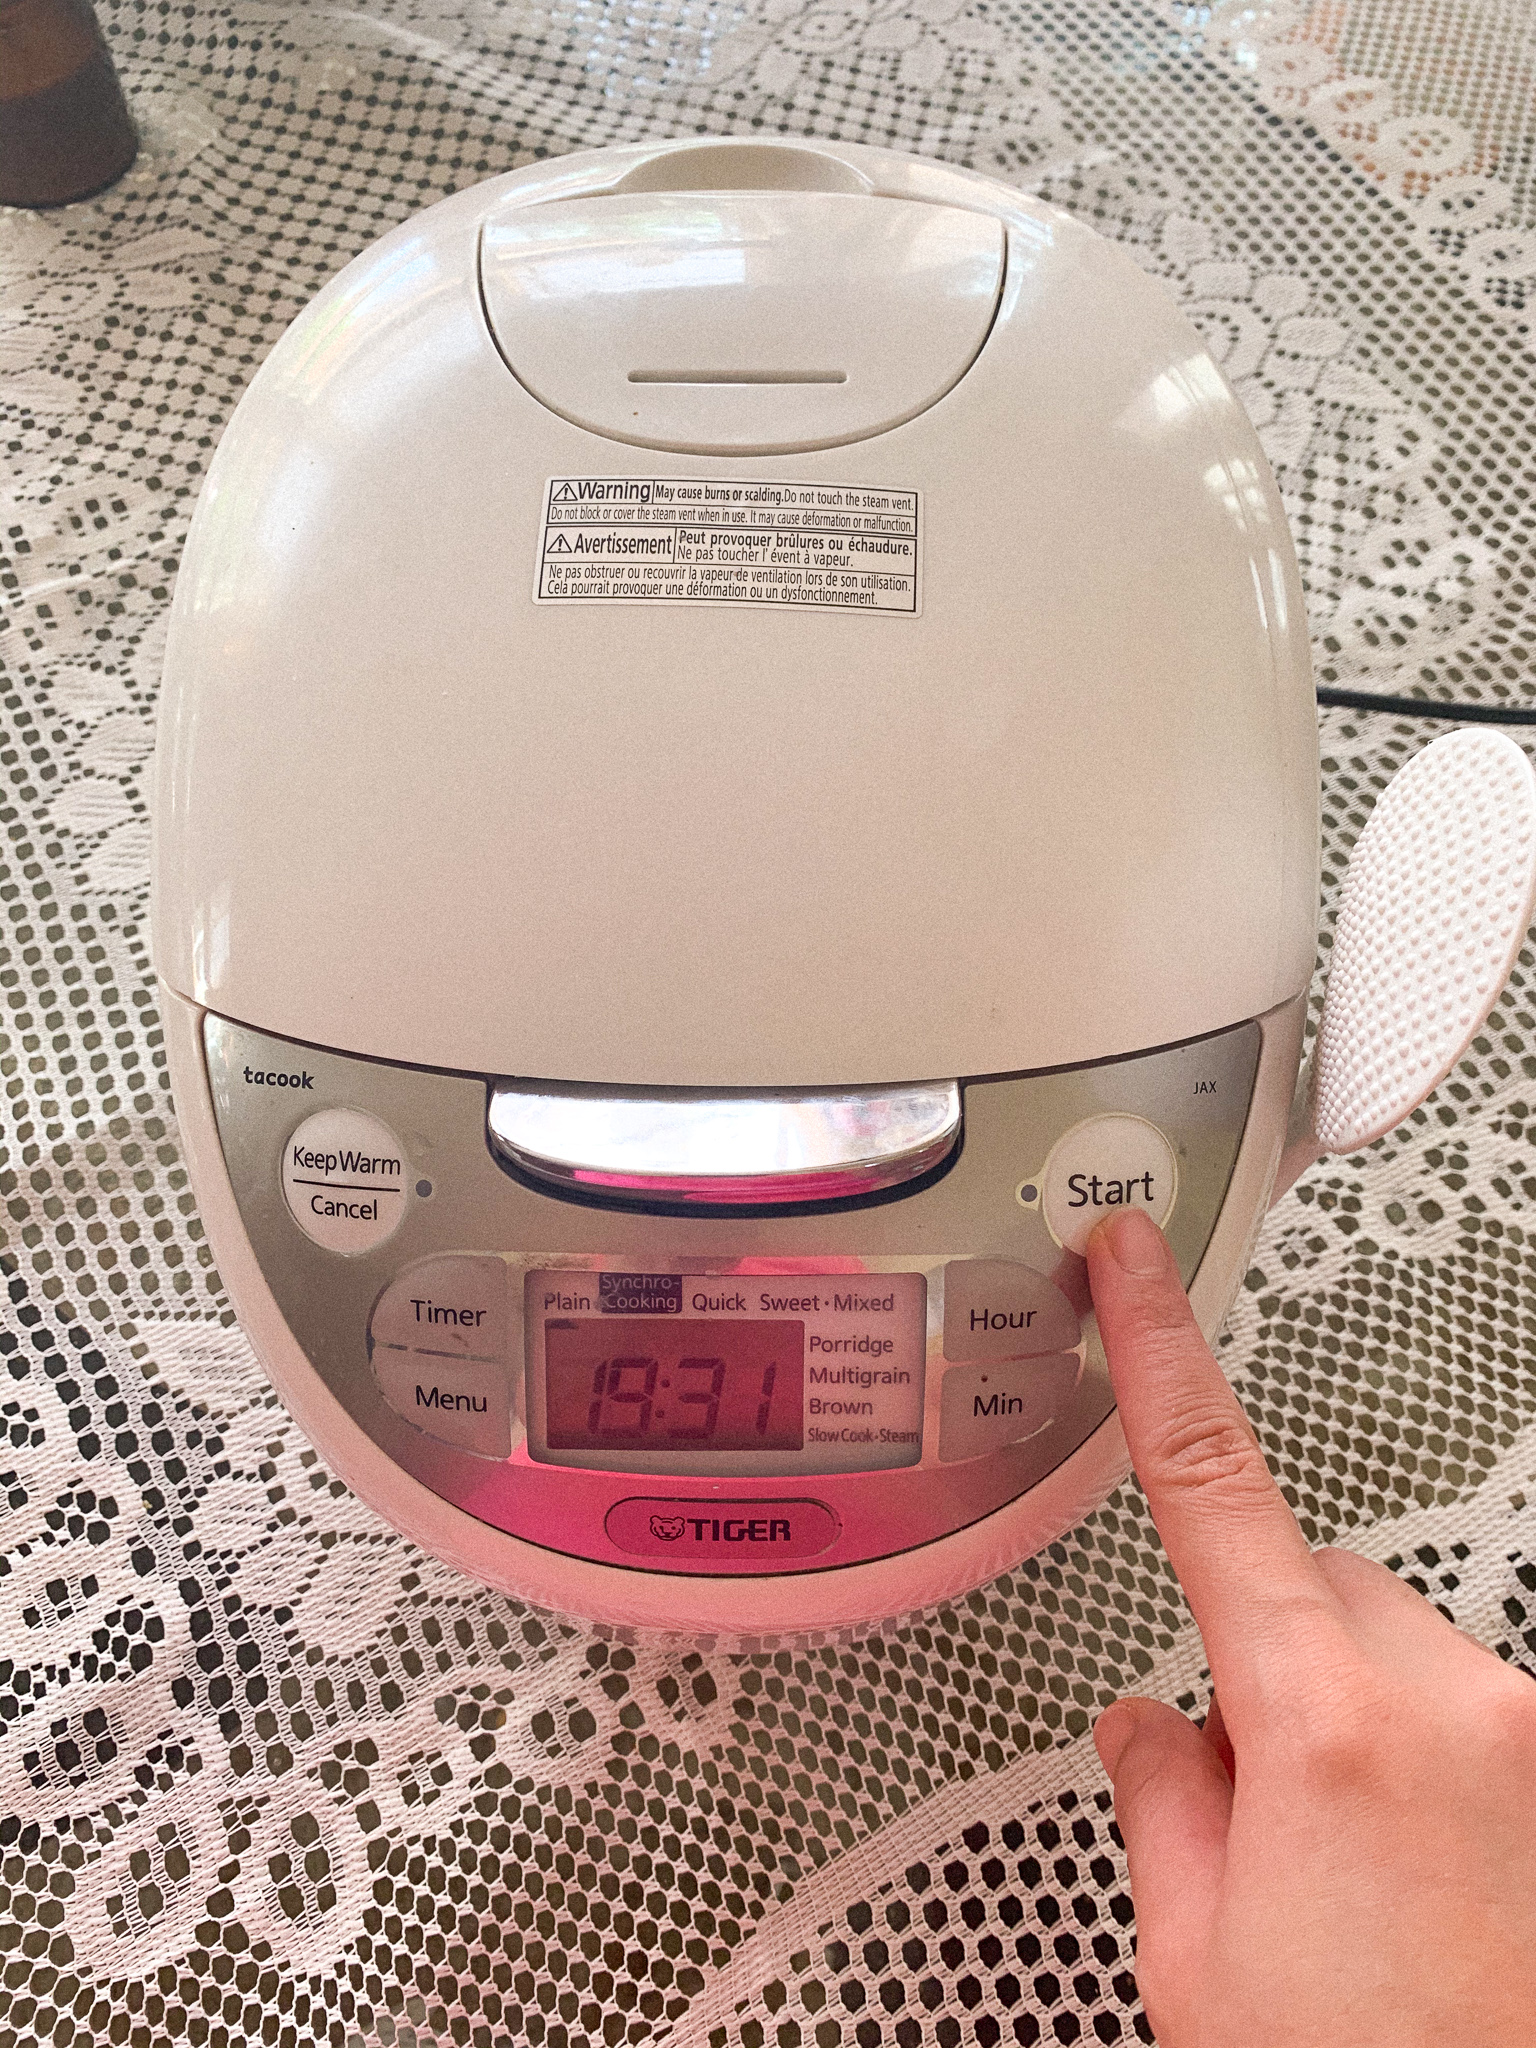
6: After it beeps and tells you it is done, poke the cake with chopsticks or a stick like thing. If nothing sticks to the chopstick, it is ready. If not, press the “start” again. (My first round of 45 min was not enough, so I did the second round of 30 min and it was perfect!)
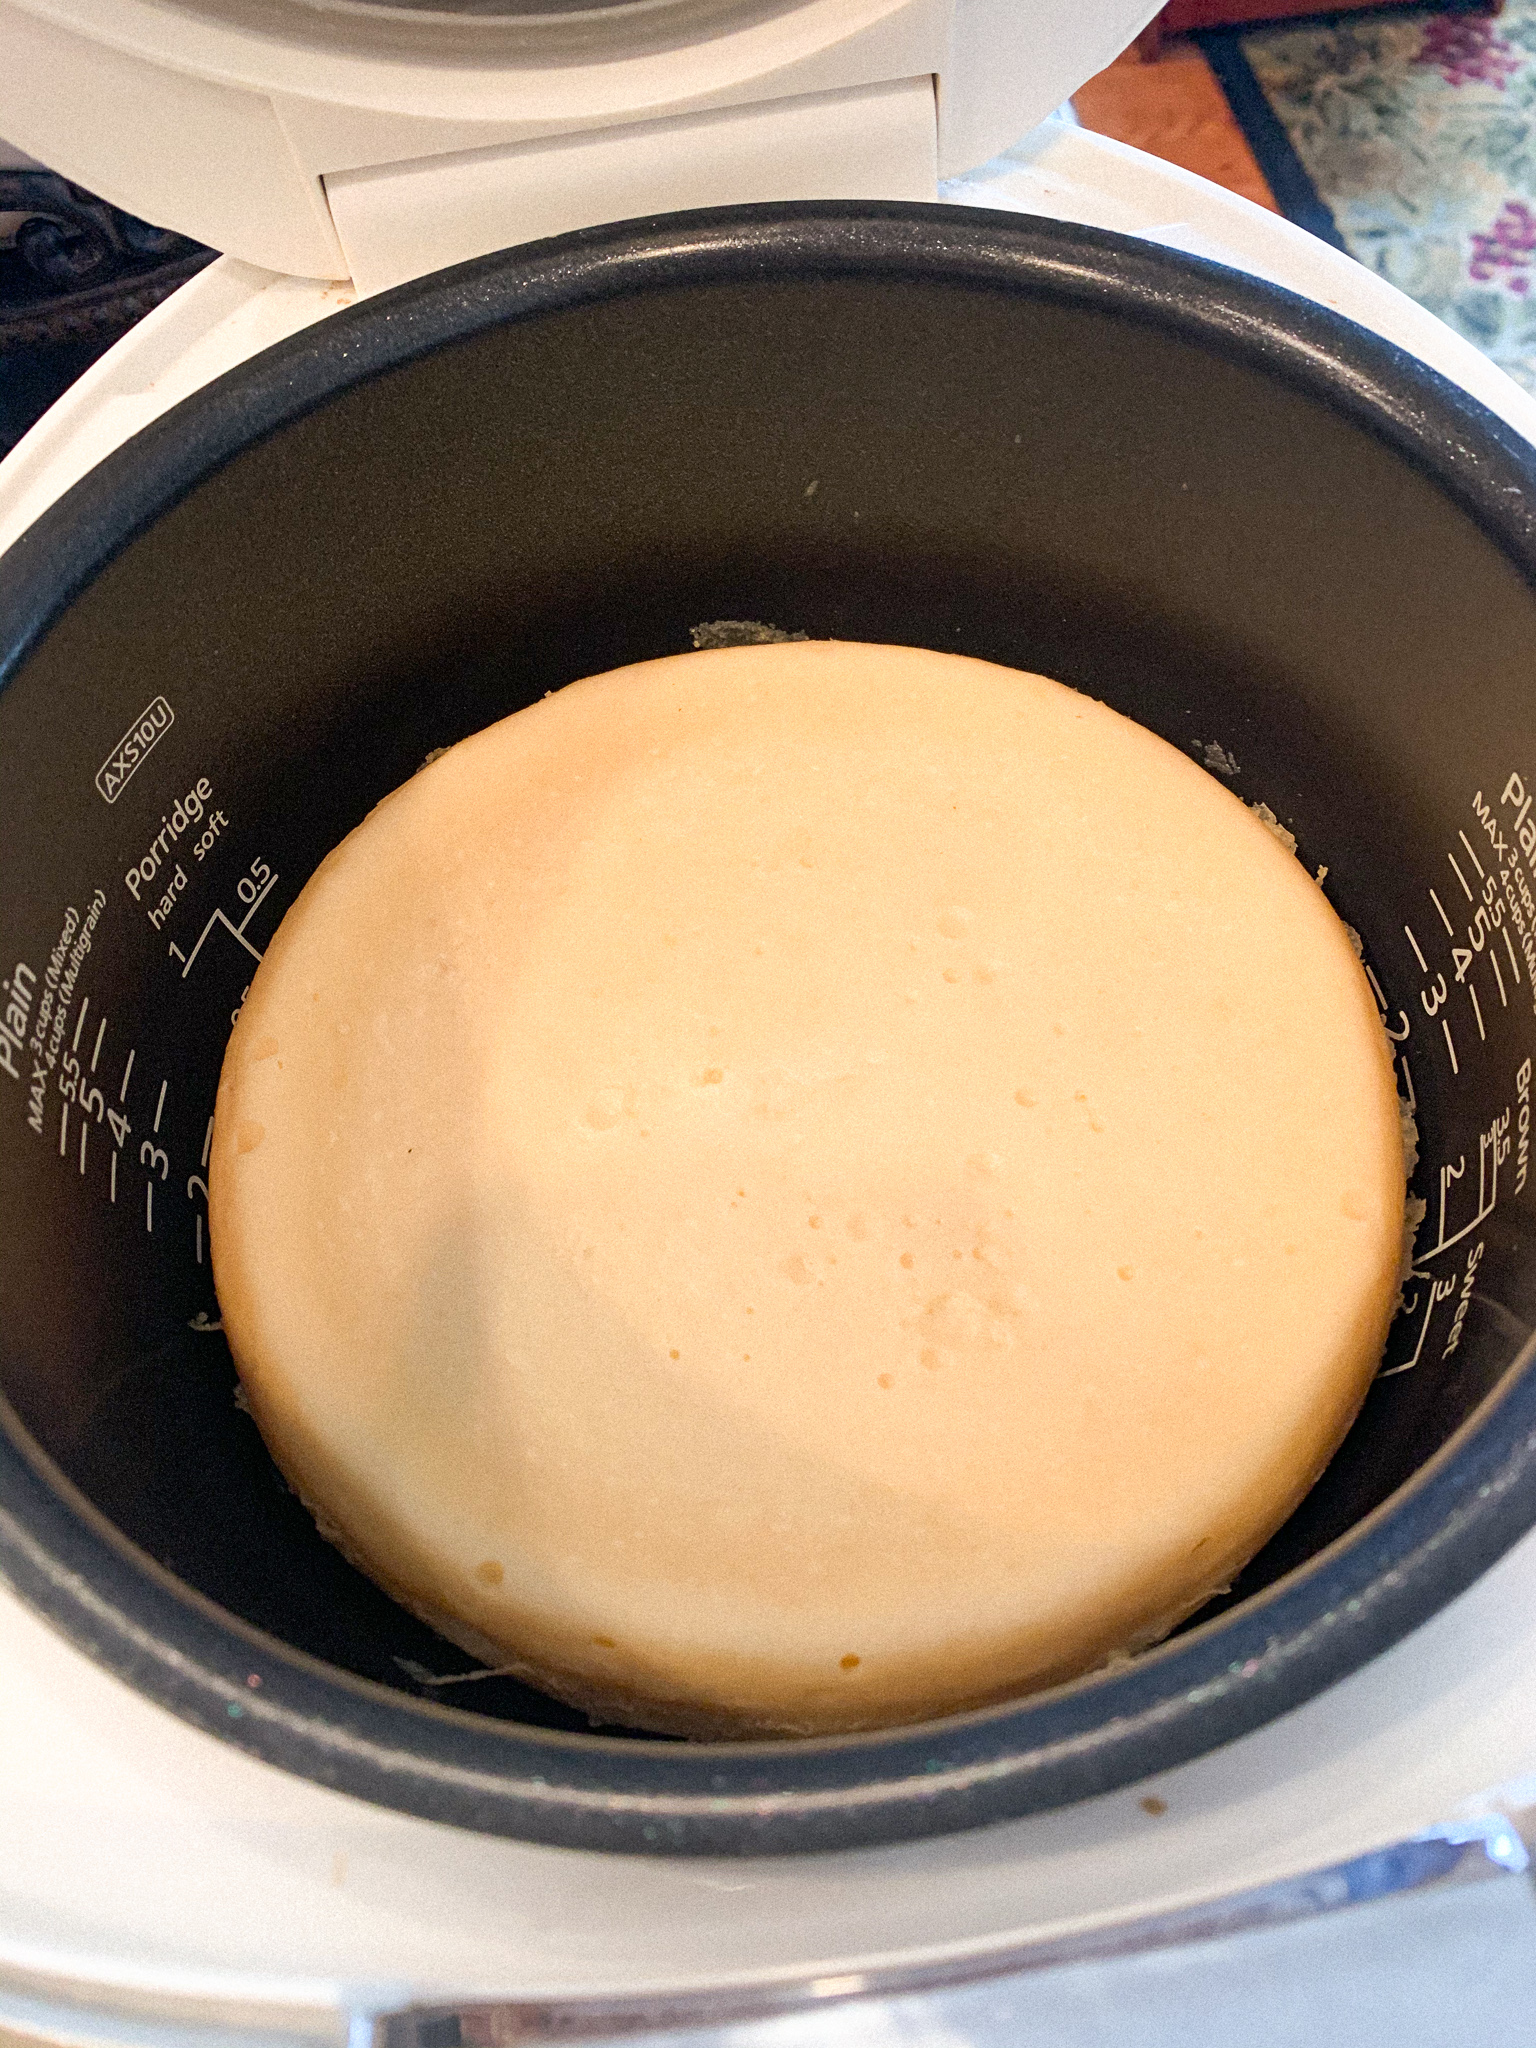
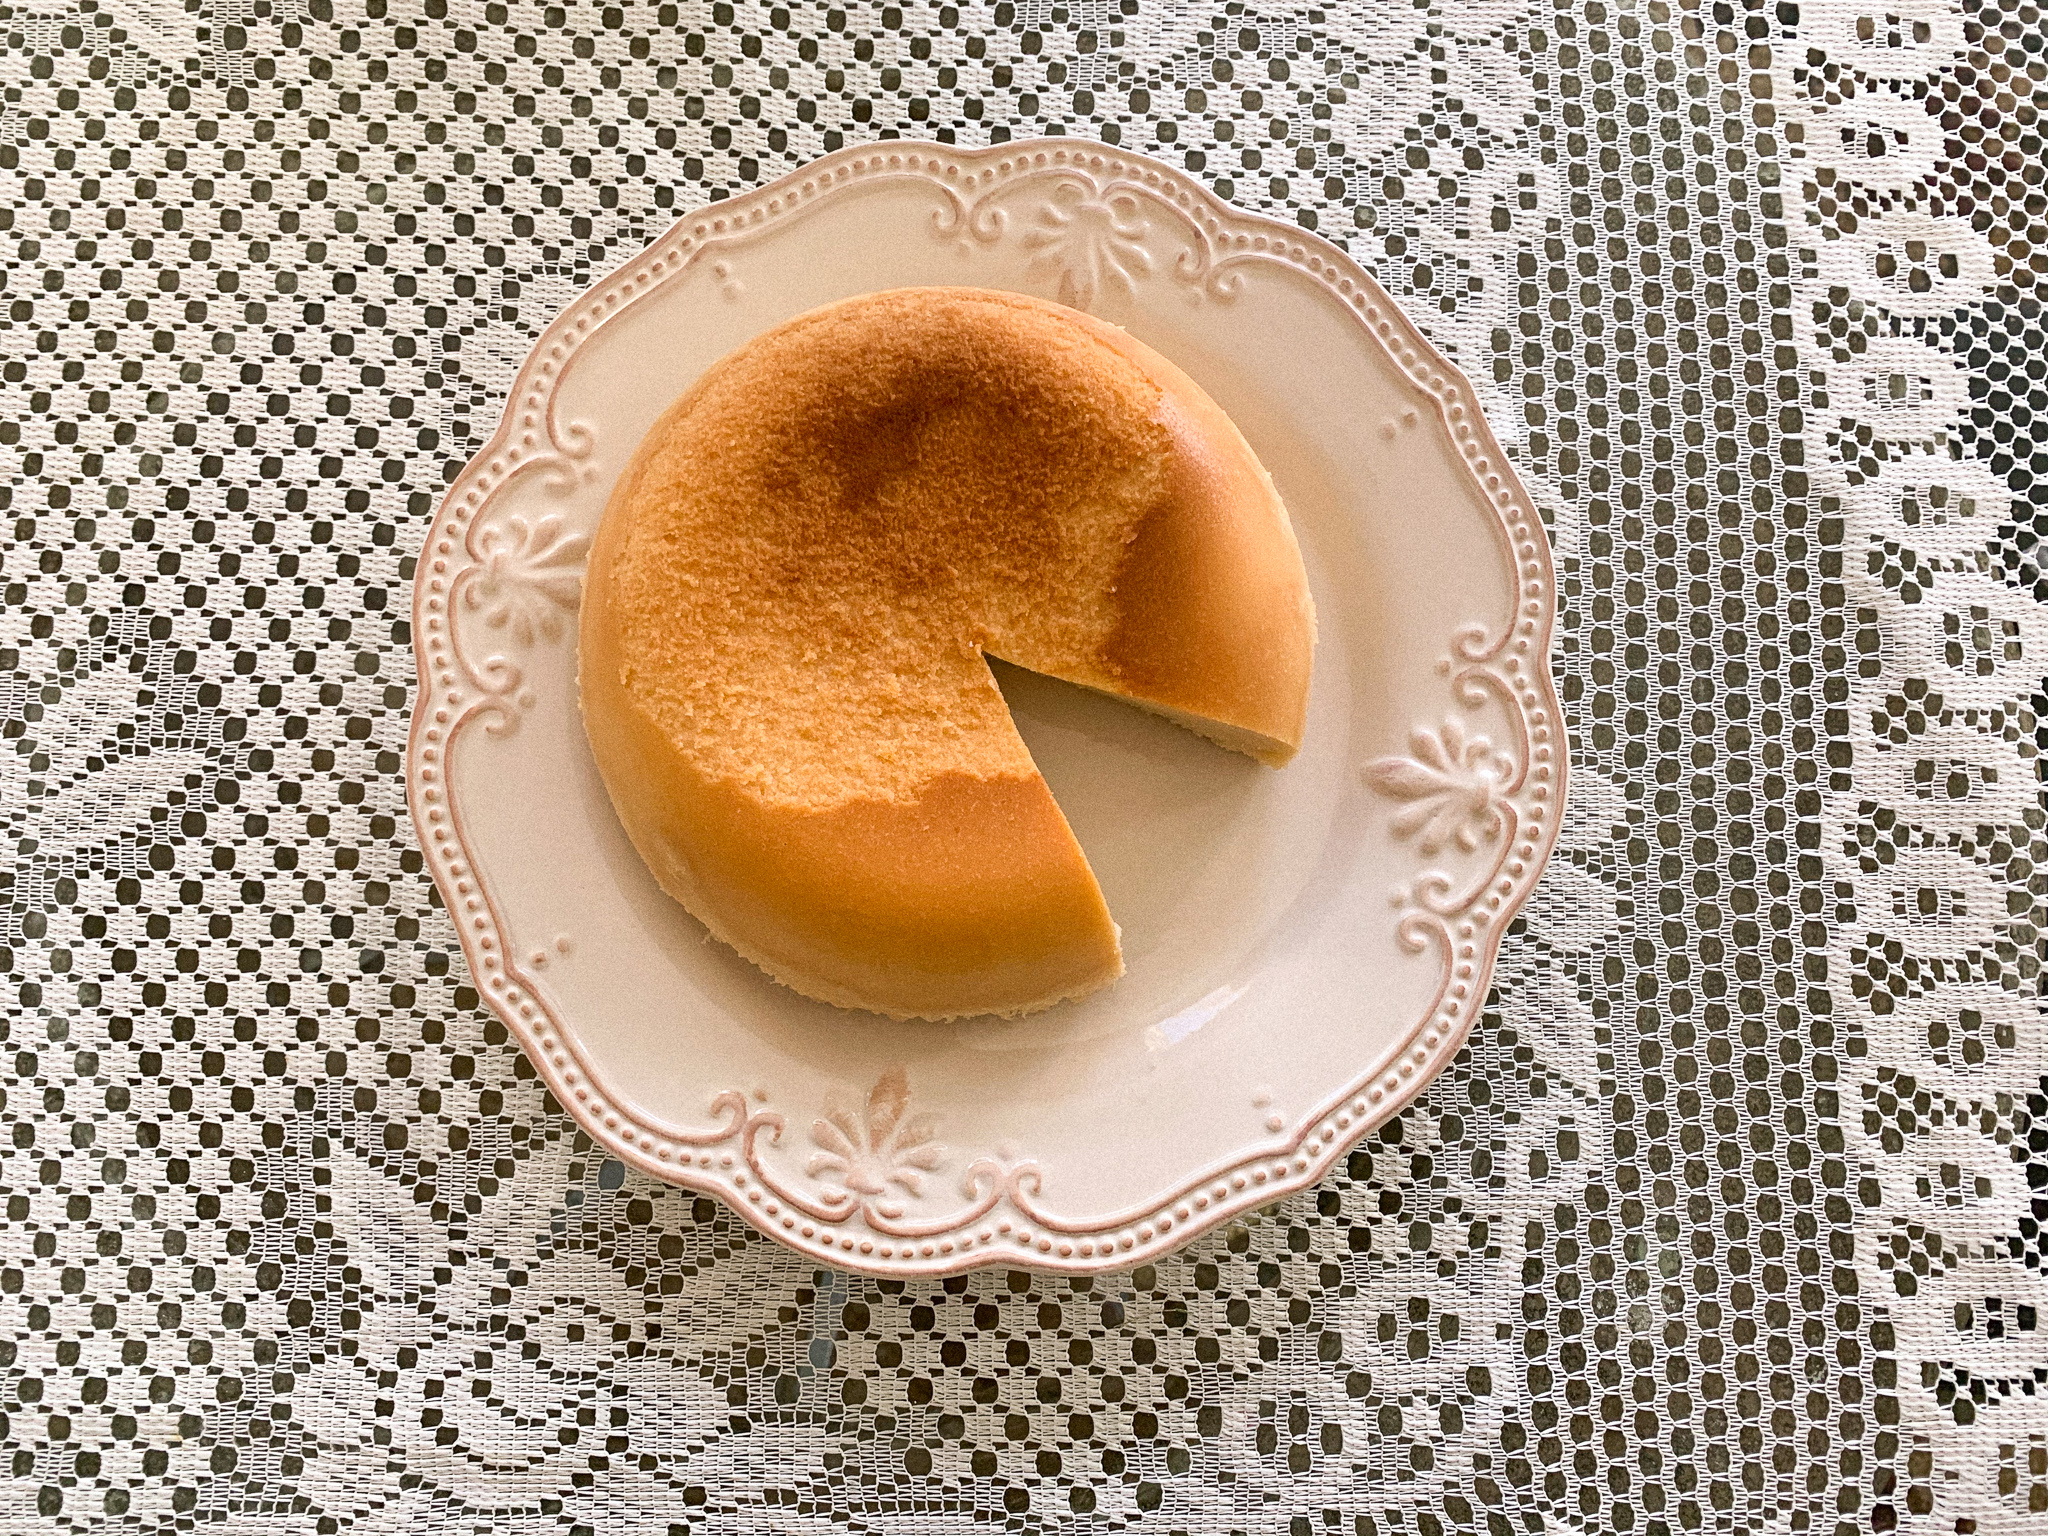
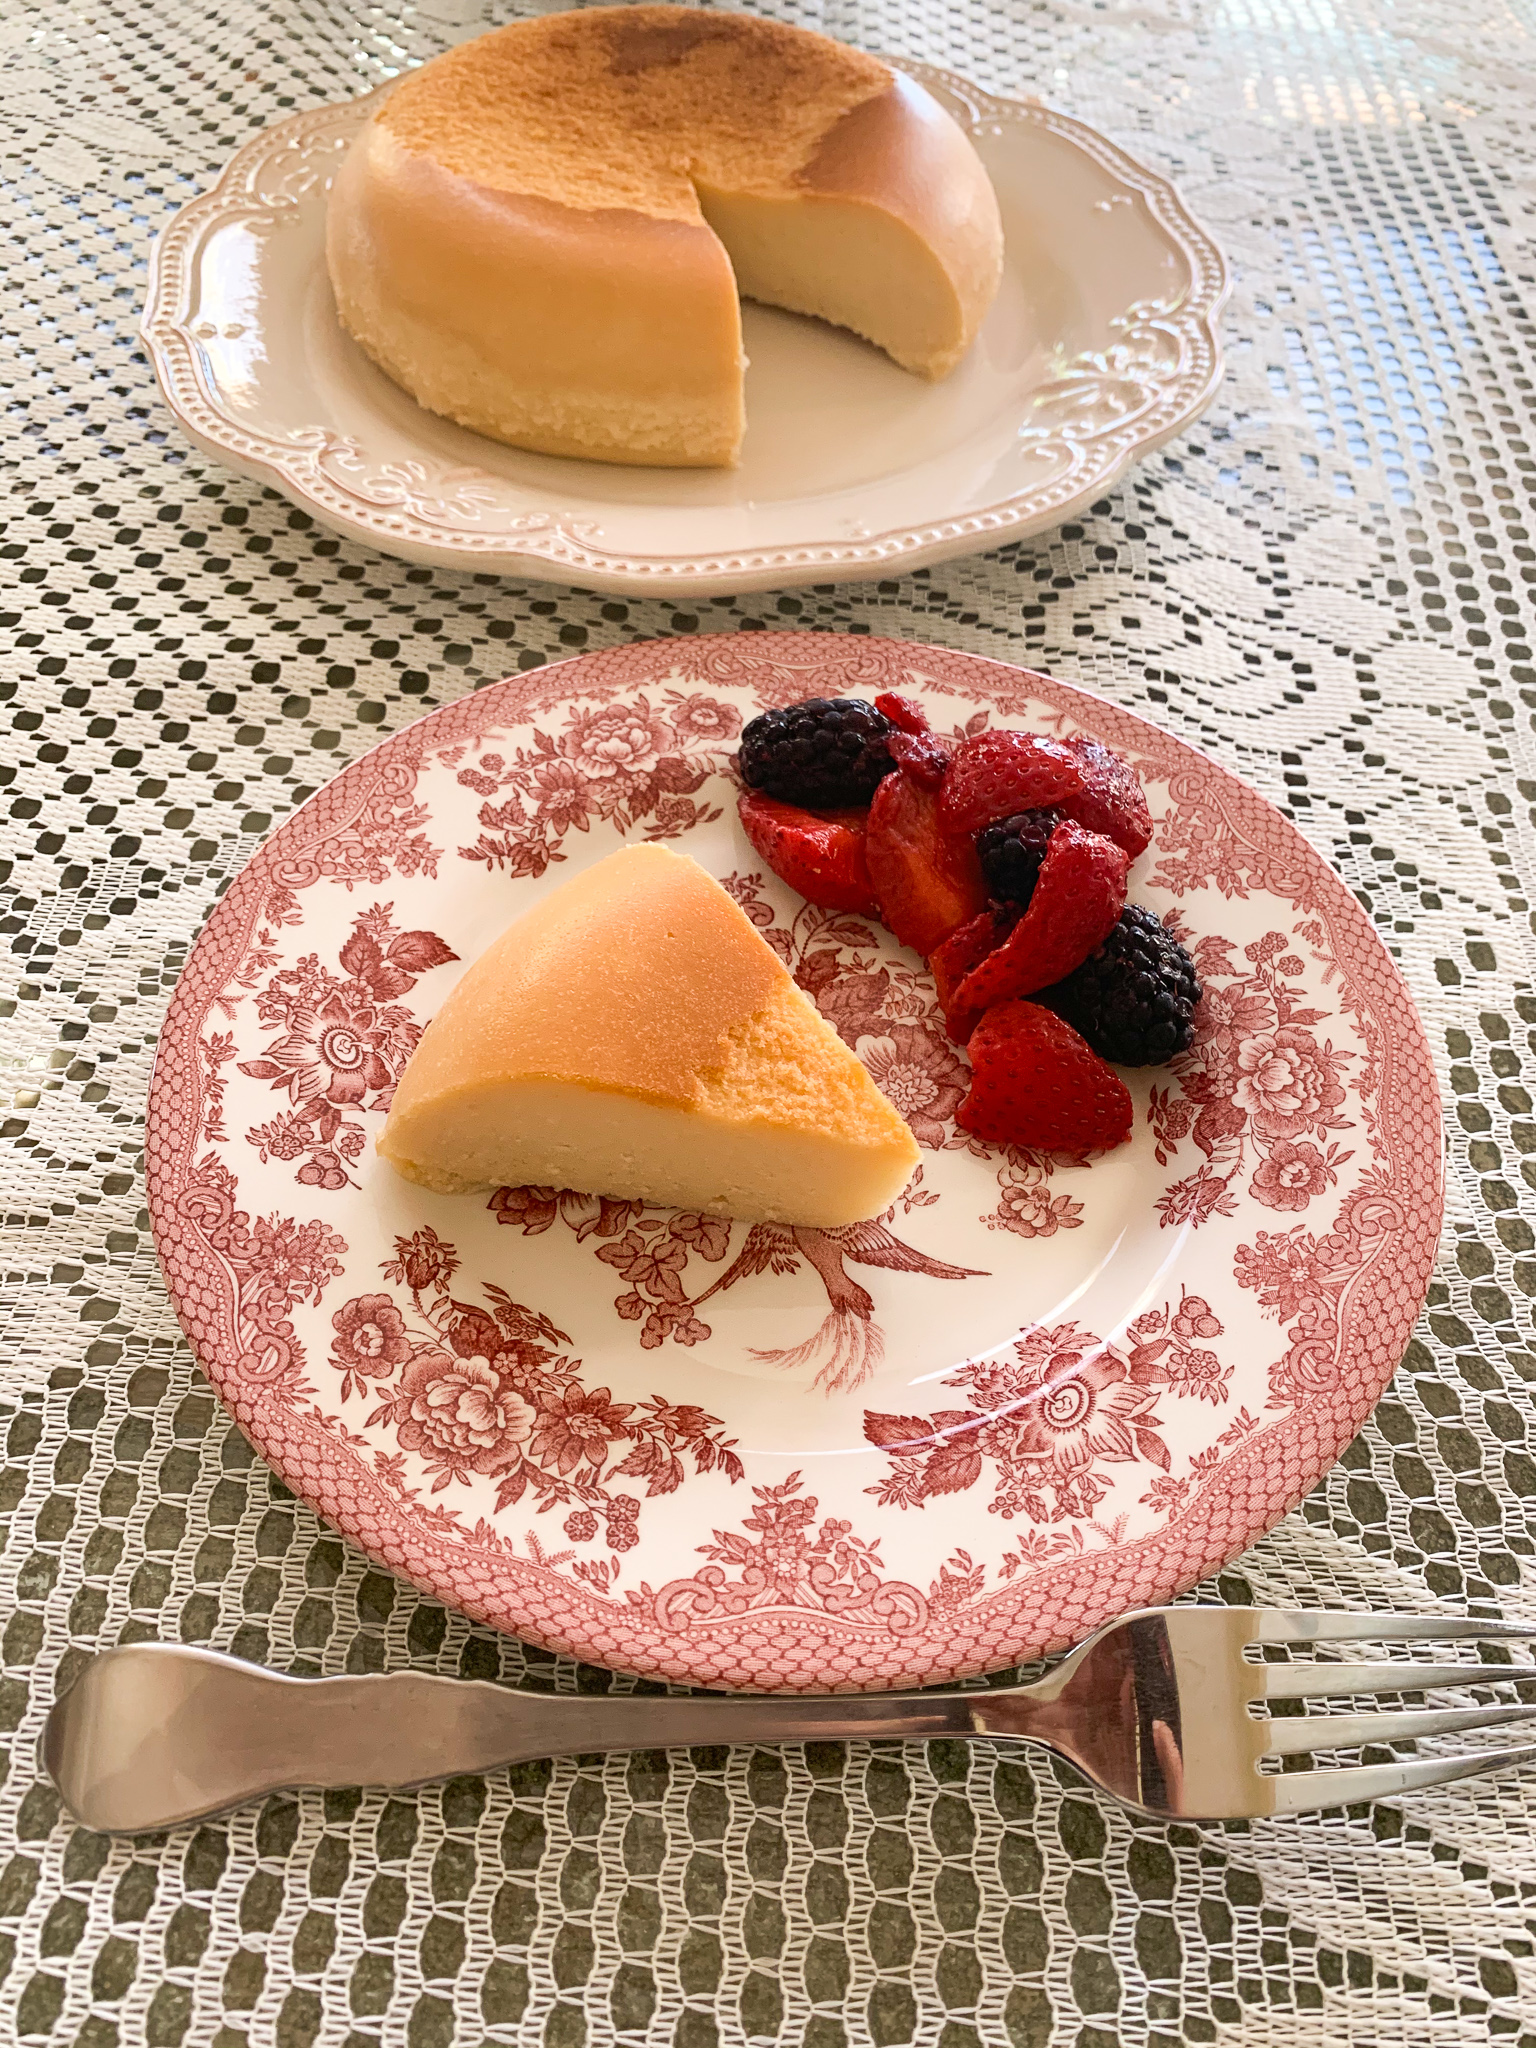
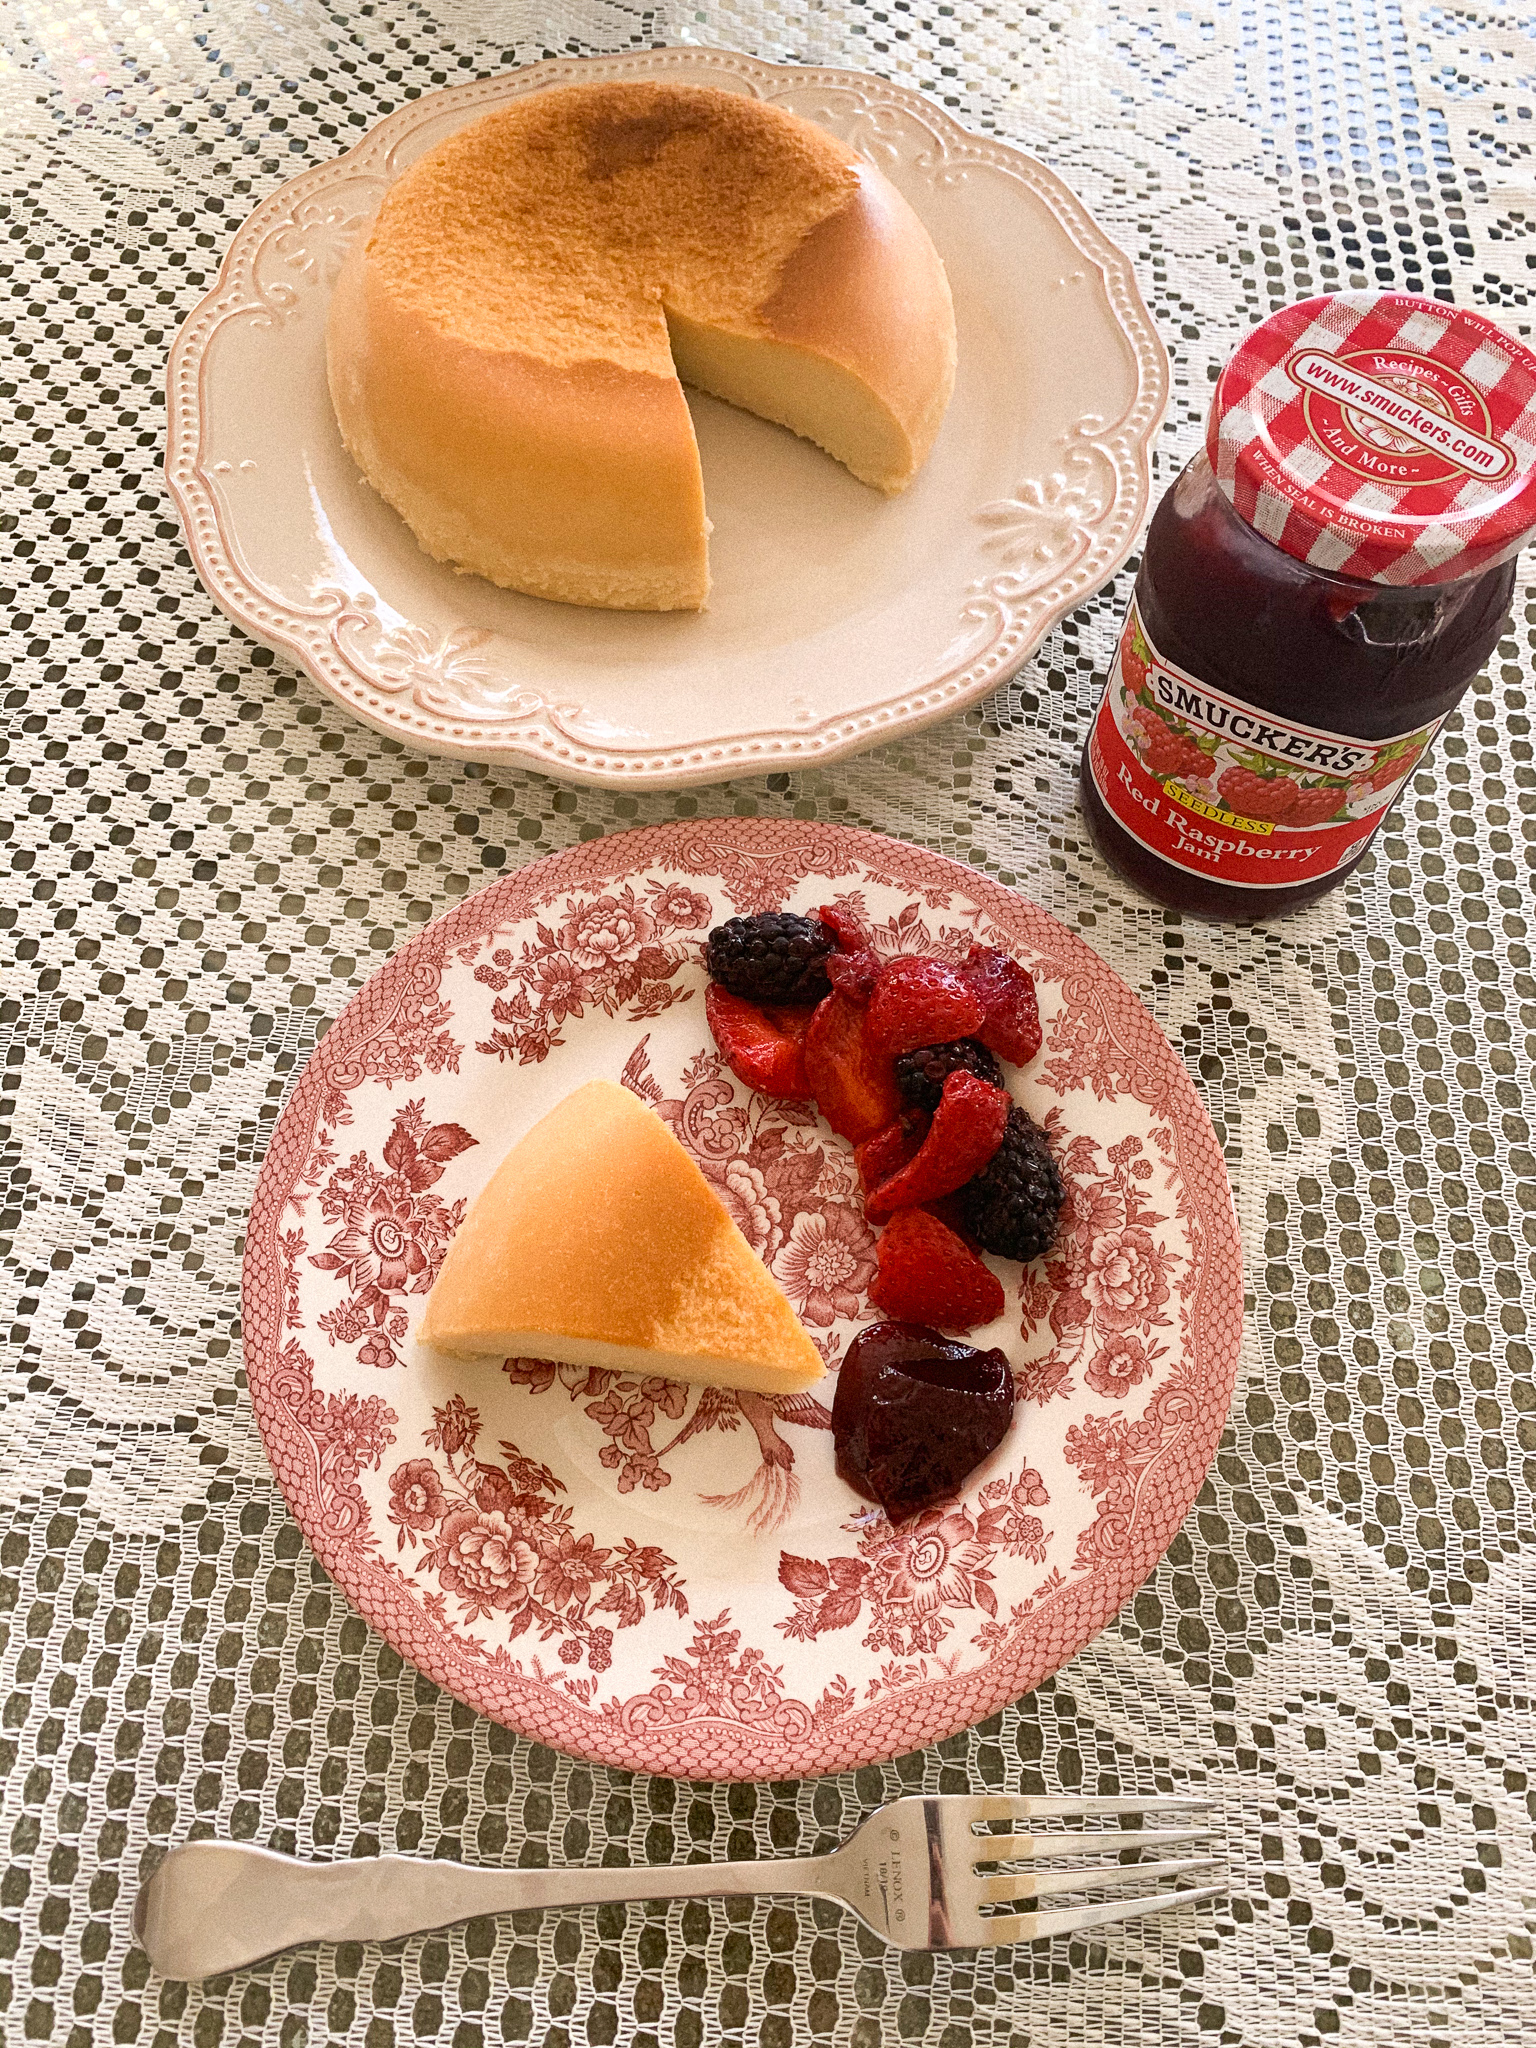
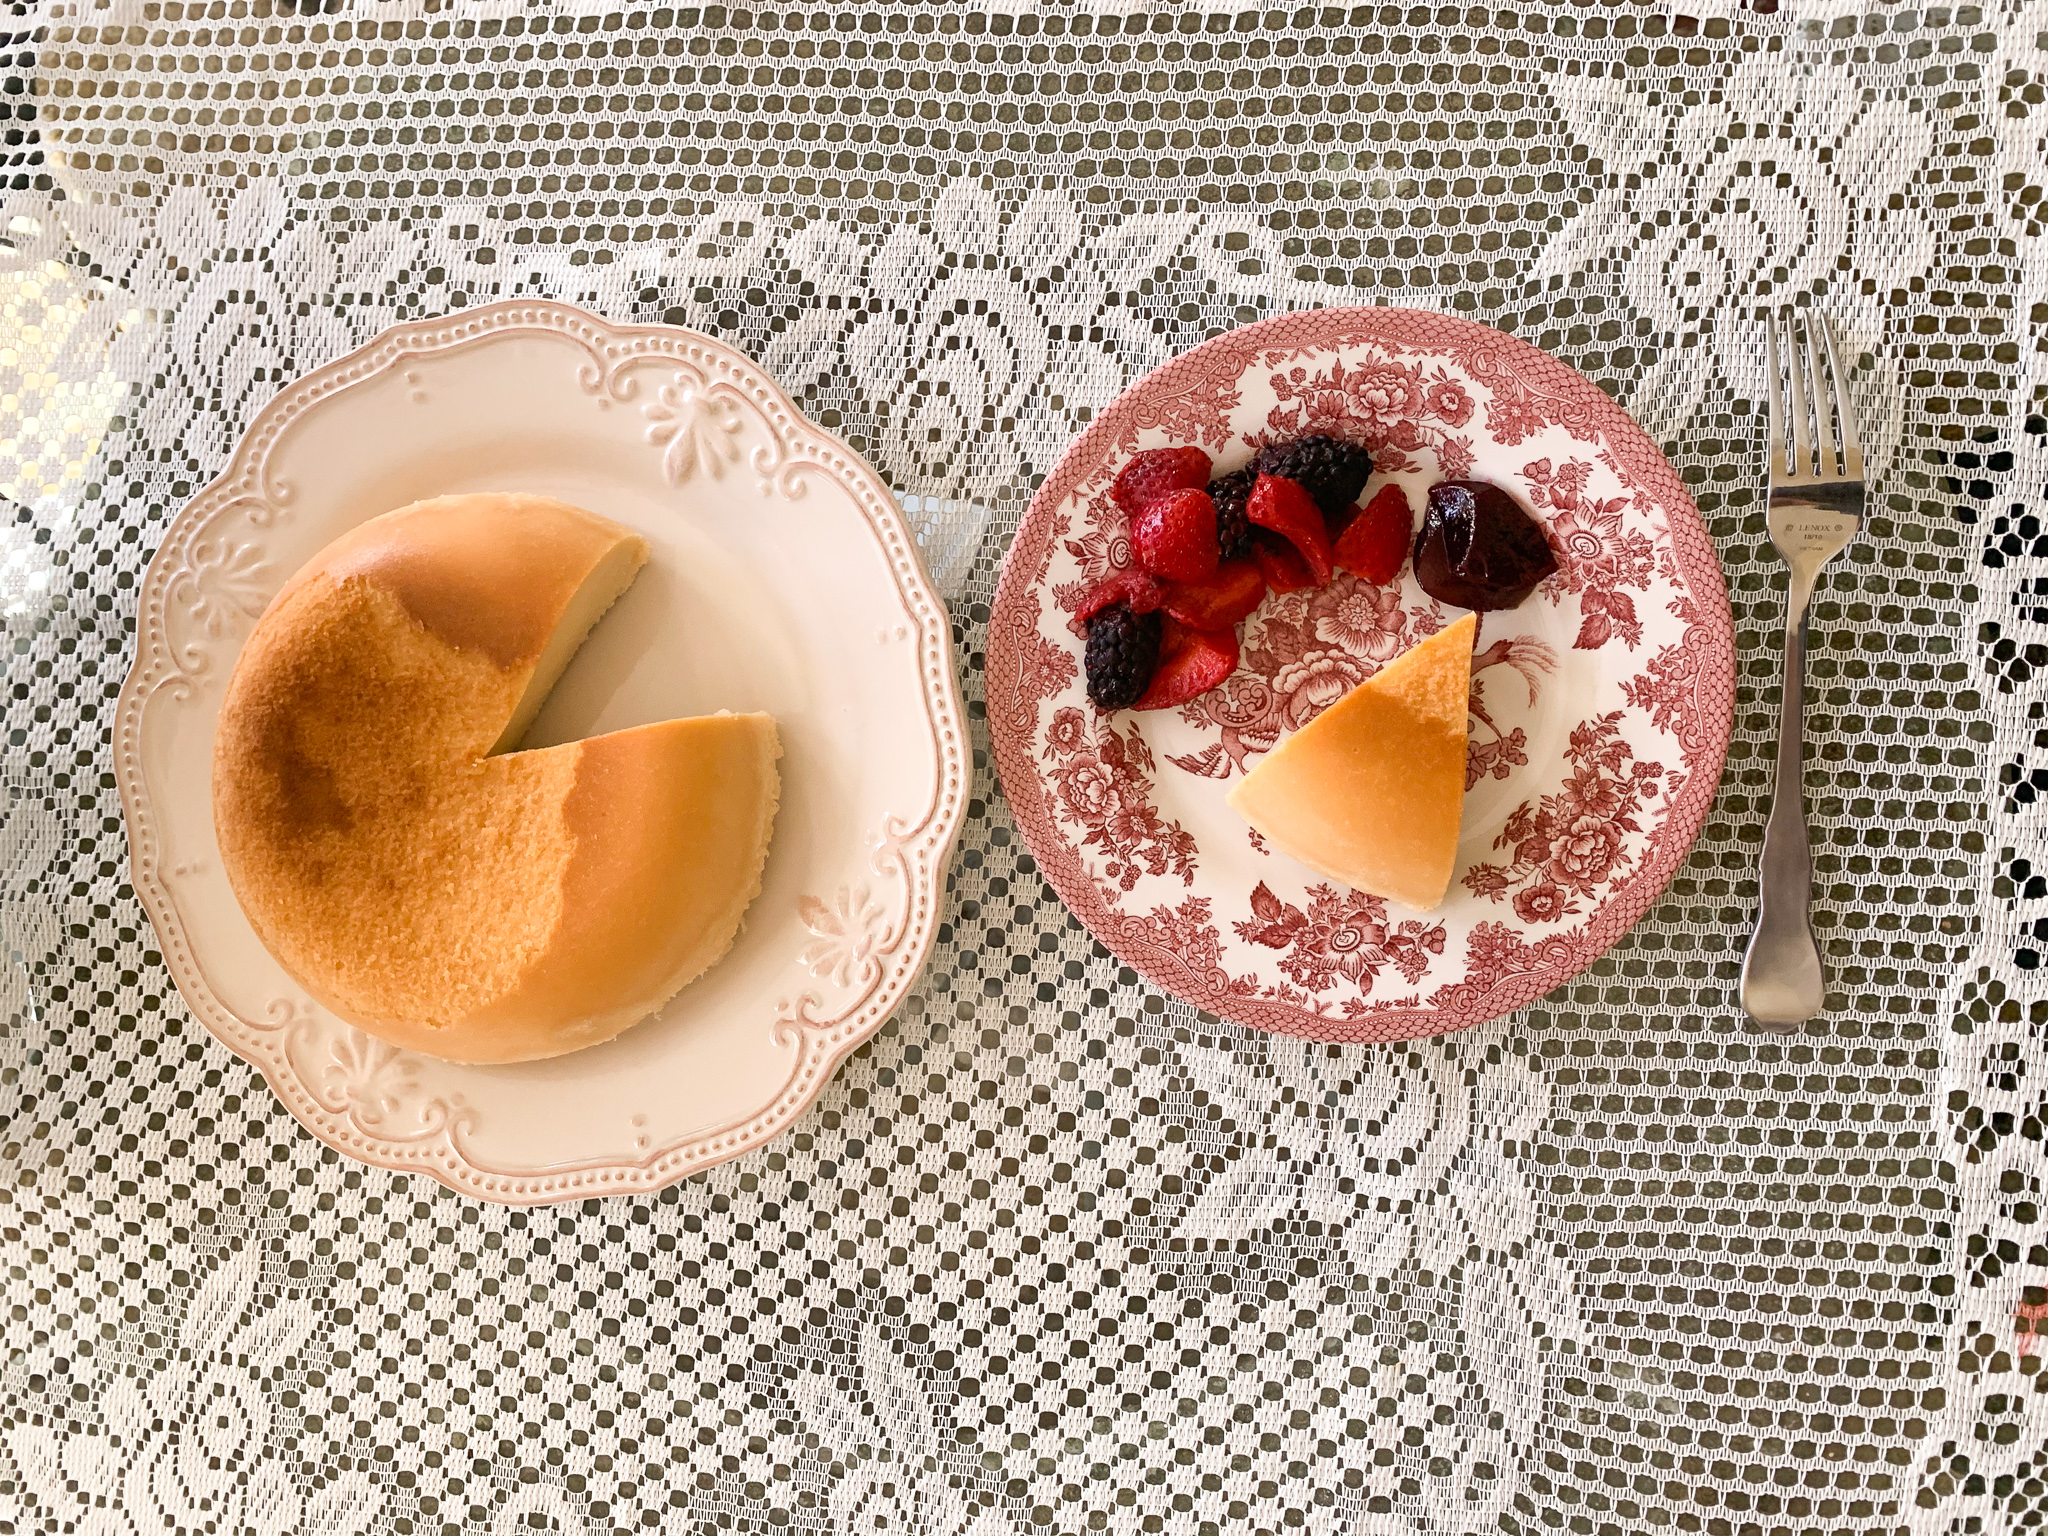
7: Cool it down for a bit because it is fragile. After that, turn it over to a plate! And voilà! Enjoy your cheese cake!


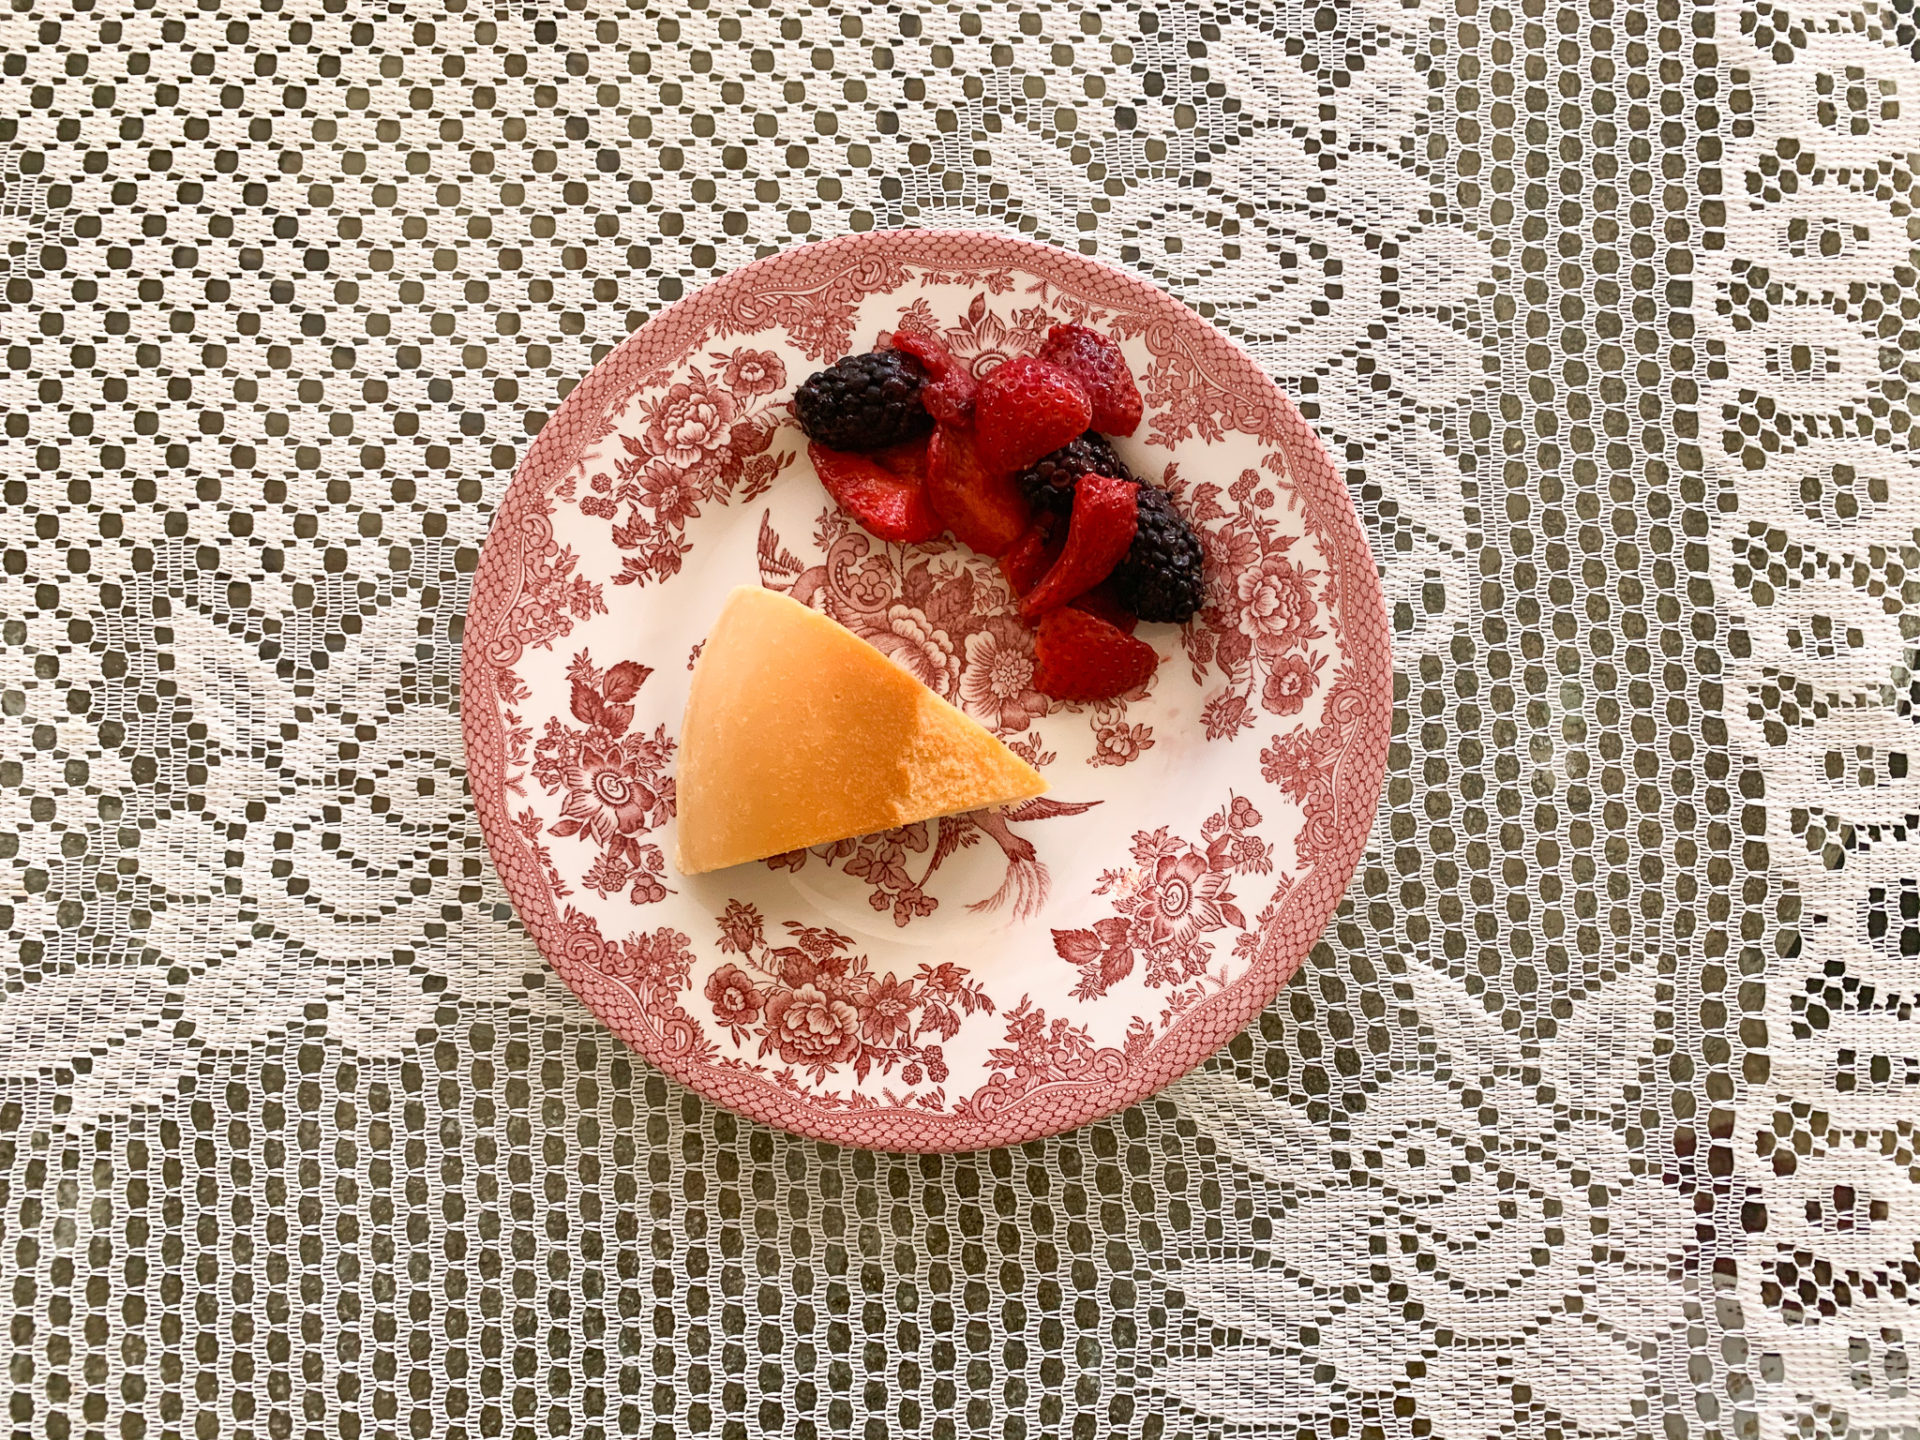
If you would like, you can add some decoration! You can add mix berries, fruits jams, whip cream, chocolate syrup and more options! I love adding fruits and eat them with the cake!


I hope you try this recipe and enjoy it!
Side note: this is second try because my first try, the cake stacked on pot and the surface peeled off. It tasted good regardless though. This time, I spray the baking spray and it came out perfectly!


with a lot of love
Fatima

No Comments